
Replacing the springs on your garage door can significantly improve its operation and safety. However, DIY garage door spring replacement is a task that requires thorough preparation and strict adherence to safety protocols to avoid potential injuries and damages. This guide provides essential safety tips and a checklist to help homeowners manage this project safely.
Preparation and Understanding Risks
Before embarking on a garage door spring replacement, it is crucial to understand the mechanics involved. Garage door springs are under high tension and, if not handled correctly, can release suddenly, causing injury. Therefore, educating yourself about the type of springs your door uses—torsion or extension—is essential. Gathering the right tools, such as winding bars, clamps, and the correct size of wrenches and sockets, is also crucial. Always wear safety goggles and durable gloves to protect against snapping springs and sharp edges.
Necessary Tools for Safe Replacement
Equipping yourself with the right tools is the first step toward a safe repair. Ensure you have a sturdy ladder, reliable winding bars specifically designed for torsion springs, locking pliers, and a set of wrenches. These tools will help stabilize the door and handle the springs securely.
Step-by-Step Safety Procedures
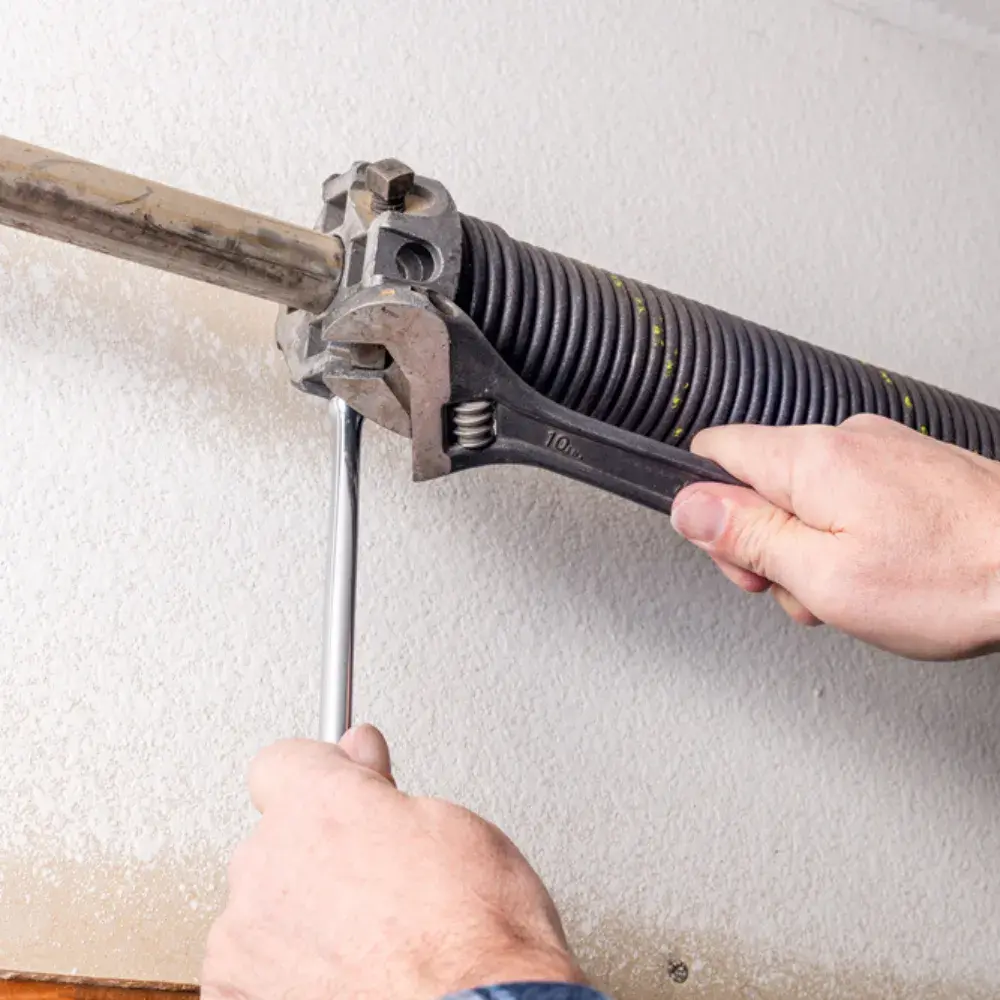
Once you’re prepared, follow these steps carefully to ensure a safe replacement process. First, disable the garage door opener to prevent any automatic operations that could lead to accidents. Secure the door in place using locking pliers or clamps on the track to avoid any unexpected movements. When handling torsion springs, use winding bars to loosen the springs gradually. For extension springs, ensure the safety cable is intact before loosening the springs to control the potential snap back.
After installing the new springs, double-check all fasteners and cables to ensure they are tight and properly placed. Carefully remove the clamps and test the door manually before reconnecting the opener. This step is critical to make sure everything is aligned and functioning smoothly without any undue strain on the new springs.
Lastly, it is wise to conduct a balance test to verify that the door is easy to lift and closes evenly at a reasonable pace. This test can prevent undue stress on the springs and extend their lifespan, contributing to the overall safety and efficiency of your garage door system.
While DIY garage door spring replacement can be a cost-effective way to maintain your garage door, it carries significant risks that require careful attention to safety. By following a detailed safety checklist and ensuring you are fully prepared with the right tools and knowledge, you can successfully undertake this task with confidence. Always consider consulting with or hiring a professional if the task seems beyond your skill level to ensure your safety and the operational integrity of your garage door.
Learn More
Expert Tips on Choosing the Right Springs for Your Garage Door